Understanding Rain Gardens and Stormwater Compliance
Rain gardens serve as effective tools for managing stormwater on properties. These features capture runoff from roofs, driveways, and paved areas, allowing water to filter through soil and plants before reaching waterways. In California, where regulations mandate on-site stormwater control for new developments and renovations, rain gardens provide a compliant, low-maintenance alternative to traditional drainage systems.
Property owners benefit from reduced erosion, improved water quality, and enhanced landscapes. By integrating these gardens thoughtfully, individuals can meet legal requirements while fostering biodiversity and conserving resources. The key lies in aligning design with local conditions to ensure long-term functionality.
The Impact of Urban Development on Stormwater
As cities expand, impervious surfaces like concrete and asphalt dominate landscapes. These materials prevent natural infiltration, directing rainfall into storm drains at high speeds. The resulting runoff picks up pollutants such as oils, fertilizers, and sediments, which harm rivers, lakes, and coastal areas.
California municipalities address this through ordinances that require managing a specific volume of stormwater on-site. Rain gardens excel in these scenarios because they mimic natural water cycles. They slow flow, promote infiltration, and support native vegetation, which in turn attracts wildlife and reduces irrigation demands.
For residential properties, these installations boost aesthetic value and property resilience against flooding. Commercial sites demonstrate sustainability commitments, often qualifying for incentives or certifications. Overall, rain gardens balance environmental protection with practical benefits.
Planning Your Rain Garden Design
Effective rain gardens start with site assessment. Evaluate the area receiving runoff, such as downspouts or sloped lawns, and measure the impervious surface contributing water. Calculate the garden size based on local codes, typically handling the first inch of rainfall over the contributing area.
Consider soil type, sun exposure, and drainage patterns. Sandy soils drain quickly, while clay-heavy ones may need more amendment. Sketch the layout to include a central basin for water retention and gently sloping sides for planting zones. Consult municipal guidelines to confirm sizing and placement rules.
Incorporate features like berms to direct flow and overflows for heavy rains. This planning phase ensures the garden integrates seamlessly with existing landscapes, avoiding issues like standing water or uneven terrain.
Construction Steps for a Functional Rain Garden
Construction requires precision to achieve optimal performance. Homeowners with basic skills can handle small projects, but larger ones benefit from professional assistance. Follow these steps to build a durable system.
Step 1: Mark and Excavate the Site
Use stakes, string, or a hose to outline the garden's shape, aiming for an irregular form that blends naturally. Dig to a depth of six to eighteen inches, deeper in clay soils to enhance drainage. Remove rocks and roots, then stockpile topsoil for later use. Build a berm along the lower edge using excavated material to contain water within the basin.
Step 2: Prepare the Soil Mix
Create a permeable planting medium by blending equal parts sand and topsoil with compost. This ratio, often 60 percent sand, 20 percent topsoil, and 20 percent compost, facilitates infiltration while nourishing roots. Test the mix for drainage by pouring water through a sample; it should percolate within minutes. Layer this over any amended subsoil to form the basin floor.
Step 3: Set Up Water Inlets and Outlets
Route runoff from sources like gutters using PVC pipes, rock-lined swales, or vegetated channels. Position inlets at the garden's high points to distribute flow evenly. For overflows, install a gravel-lined trench or pipe that directs excess to a safe drainage area, preventing flooding during intense storms.
Step 4: Select and Plant Vegetation
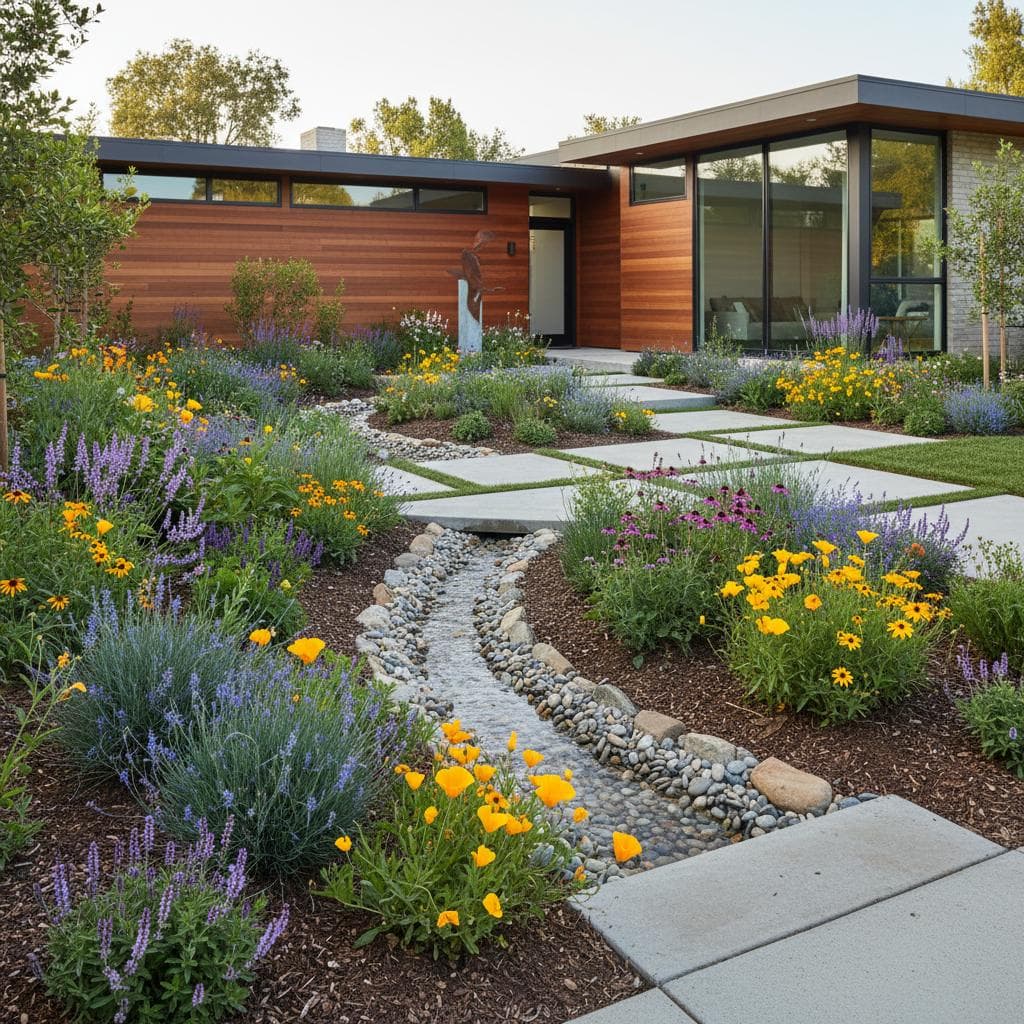
Opt for species tolerant of periodic inundation and drought. In the basin's center, plant moisture-loving options like iris or rush. On the sides, use drought-resistant natives such as ceanothus or buckwheat. Arrange in clusters for ecological support, ensuring a mix of heights and bloom times for year-round appeal.
California natives like toy on salvia, black sage, and mulefat thrive in these conditions. Space plants according to mature size to avoid overcrowding, and install them at the same depth as in their pots to prevent root exposure.
Step 5: Apply Mulch and Initial Watering
Spread two to four inches of organic mulch, such as bark chips or gravel, over bare soil. This layer conserves moisture, reduces weeds, and stabilizes the surface against erosion. Water thoroughly after planting to settle the soil, then monitor during the establishment period, providing supplemental irrigation as needed.
Essential Maintenance Practices
Rain gardens demand ongoing care to sustain their effectiveness. Address issues promptly to prevent decline in filtration or aesthetics.
-
Post-Storm Evaluations: After rainfall, inspect for debris accumulation, washouts, or plant stress. Redistribute sediment and repair eroded areas with fresh soil mix.
-
Weeding and Pruning: Pull weeds before they seed, focusing on non-natives. Prune dead foliage in late winter to encourage new growth and maintain structure.
-
Mulch Renewal: Top up mulch yearly in spring to replenish organic matter and protect roots.
-
Debris Clearance: Regularly clean inlets, outlets, and basin surfaces to maintain water flow paths.
-
Plant Replacements: Monitor for failures due to pests or poor adaptation, replanting with suitable alternatives to ensure full coverage.
As plants establish, maintenance decreases, with mature gardens often requiring only seasonal checks.
Selecting Durable Materials and Plants
Choose components that endure fluctuating moisture levels. For borders, select permeable options like flagstone or recycled plastic edging, which resist shifting. Gravel or permeable pavers work well for paths leading to the garden.
Prioritize native or adapted plants for resilience. These species demand minimal care, resist local diseases, and bolster pollinator populations. Include a variety of root depths: deep-rooted shrubs for stability and shallow-rooted perennials for quick coverage.
For design variety, edge with fescue grasses for a tidy border or incorporate meadow elements with asters and milkweed. Always verify plant hardiness zones match your location to guarantee success.
Budgeting for Success and Project Oversight
Rain garden projects range from $5 to $15 per square foot, depending on scale and materials. Excavation and soil amendments account for half the expense, with plants adding another quarter. Source bulk supplies from local nurseries to cut costs, and check for rebates through water districts or environmental programs.
Manage the timeline by breaking tasks into phases: planning one week, construction over a weekend, and planting in favorable weather. Track progress with photos and notes to refine future efforts. Engaging a certified landscaper ensures code adherence and professional execution.
Realizing the Benefits of Your Rain Garden
A well-maintained rain garden transforms regulatory obligations into assets that enrich your property. It filters pollutants, recharges groundwater, and creates inviting spaces for relaxation. Over time, observe increased wildlife activity and decreased utility bills, affirming the investment in sustainable design.